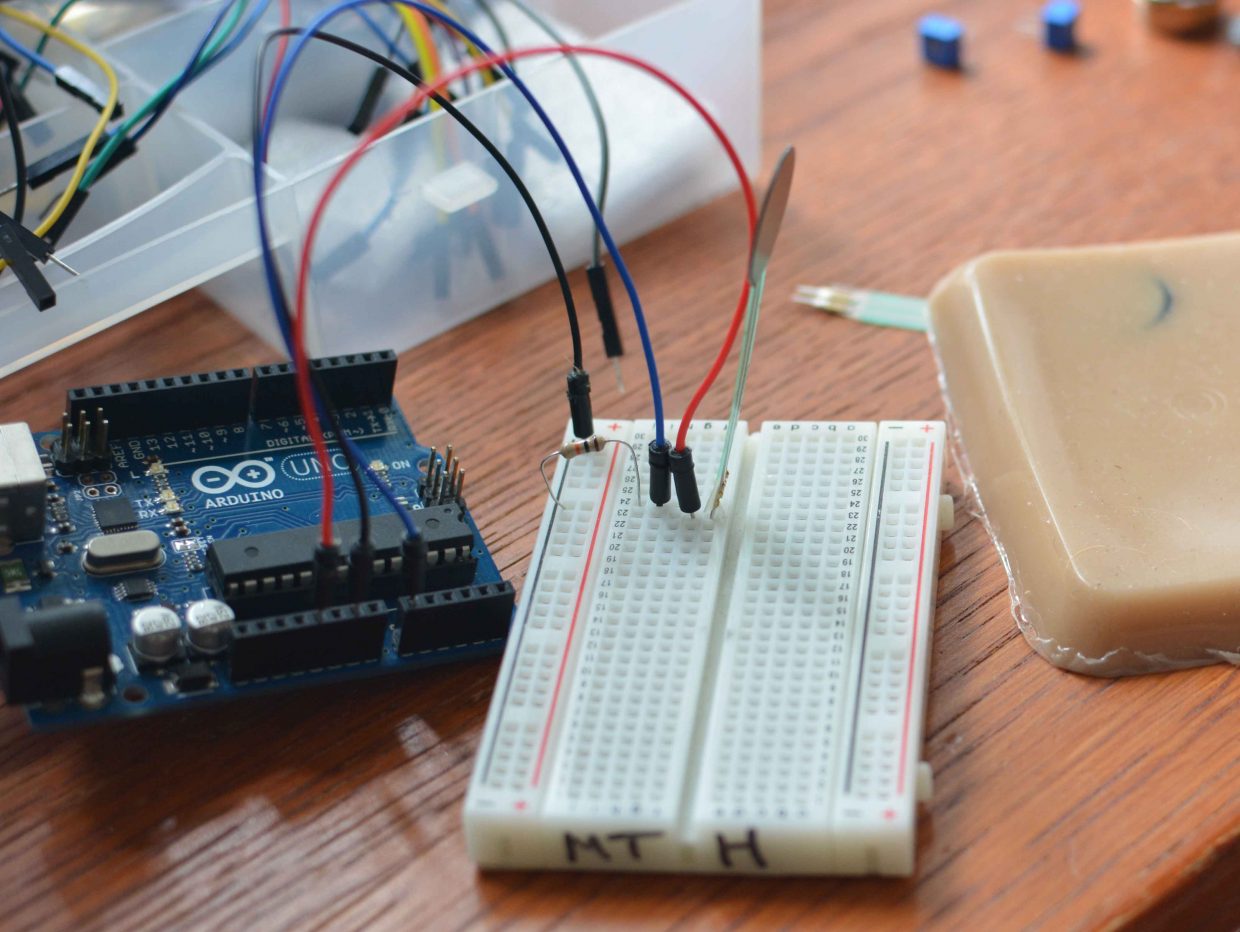
The artefact runs on an Arduino, since this makes prototyping really easy. Arduino is a platform specifically developed for rapid prototyping and offers both hardware and software solutions. Hence the choice to use this platform. For this specific artefact I am using an Arduino Uno (the most common version) that can be programmed via USB from the PC. The different software updates can be found in the section [The Software], but in this section I will elaborate on the hardware used in the different prototypes.
Force-sensitive Resistors

The force-sensitive resistor (FSR) act as the backbone of this project (no pun intended). It registers the user input to our system and thus detect whether the user is massaging a vertebra or not. There are five FSRs in the system, for every vertbra one, and they can measure every push from 0.2 to 200 Newton which is up to 10 kg [1]. The sensor works as a resistor and when no force is applied the resistance is infinite (a constant off-state). However, when pushing on the top of the sensor, a layer of resistive polymer will touch thin film with conductive traces and a current will run (see figure[2]). Measuring this current will give an indication of the amount of force that has been applied.
Extra Bright LEDs
To make sure the coloured lights will shine through the imitation skin as fabricated in Imitation skin from FormX , I bought so called “extra-bright” LEDs. As it turns out, the brightness (or luminous intensity) of LEDs can differ in brightness which is indicated by a scientific-unit called milicandela (mcd). However, this brightness does again differ per colour. A red LED with 1400mcd has about the same intensity as a green LED 14000mcd, to the human eye. LEDs of this intensity will not get so hot that they will need cooling, which means they can be safely fixated underneath the imitation skin.
Furthermore, it is good practice to connect them to a resistor between 220 and 300 ohm. For this project there is a duo of both a red and a green LED per vertebra, adding up to ten LEDs in total. All LEDs are connected parallel, which means I have to connect only one resistor between the main ground and the Arduino.
Servo’s
Make a lot of noise possibly effecting the process of finding the hernia. However the first testruns were without the servo’s and did good.
[1] https://learn.adafruit.com/force-sensitive-resistor-fsr

[2] http://www.openmusiclabs.com/learning/sensors/fsr/index.html
